Integrating Google authentication with your Angular app
When you want to add some kind of authentication system to your Angular-powered web app, Google OAuth comes in handy because it simplifies all the identity verification process for the developer and makes it a one-click well recognized action for your user.
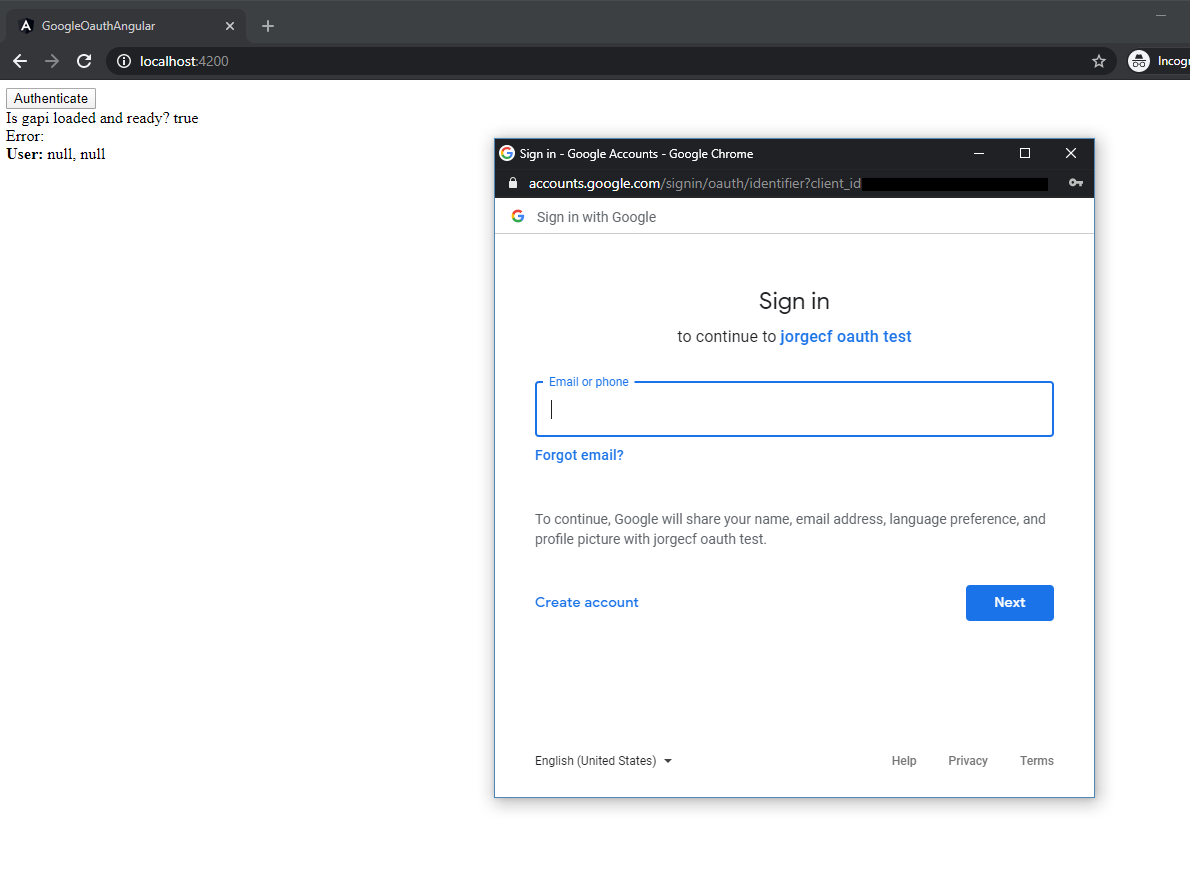
The OAuth flow is a simple yet powerful one: the user clicks on a "Sign in with Google" button present at your page and is prompted with a form to log into his Google account. When the log-in is done, the form window closes and gives you back the user data and a signed token. And that's all! You can use it to identify your users.
First things first, you have to create a project through the Google API
Console to which all log-ins will be associated. Refer to Google for
the creation steps.
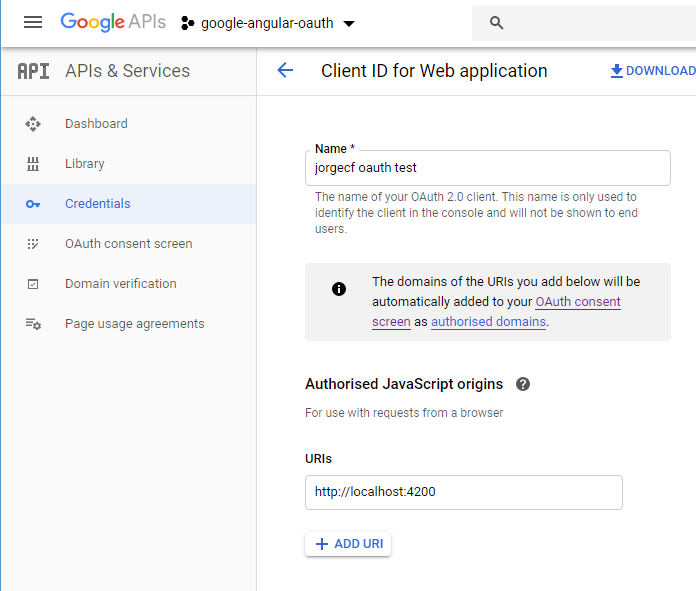
Once created, under the Credentials options, you need to set up an "OAuth 2.0 Client". This will create
a
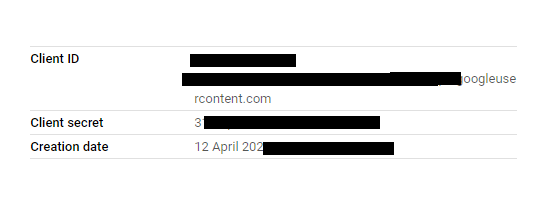
Client ID (our key) for you.

An explicit authorization has to be added for every URL under which the app is going to be stored. For
testing
purposes,
whitelisting your
local development site should be sufficient.
 With this credentials, now your app is allowed to communicate to Google.
The SDK is developed in plain JavaScript, so in order to make our compiler happy, we have to install
the Typescript types provided by the DefinitelyTyped project. Open up a
terminal and
install
them via npm:
npm install --save @types/gapi.auth2
By default, you should have the types loaded, since your TS compiler usually looks for them
under
the node_modules/@types folder, where this
particular package is installed. If it's not the case, you can assert
it filling the types array:
"compilerOptions": {"types": ["gapi.auth2"]}
And a script tag should be placed at your index. This will load the external code.
<script async defer src="https://apis.google.com/js/api.js"></script>
I'm going to use a simple button for the user to log-in. When this button is clicked, a prompt will ask
the
user to grant permission to your application. Whether they complete the form or abandon it, we'll catch
the
result.

Create a component:
ng generate component auth-button
And give it a click handler:
<button (click)="authenticate()">Authenticate</button>
Now, you're ready to add the logic behind it.
Talking to a server is an inherently asynchronous operation.
The gapi relies heavily in callbacks in a way I don't feel really comfortable with, so my personal approach here is wrapping the functions in Promises so they can be called in a more functional way.
For the set up, you will have to load the auth2 library and initialize it with your app key. I wrote
this
function to be called in a "lazy" way, that means, it's not to be called until authentication happens
for
the first time.
  async initGoogleAuth(): Promise<void> {
    //  Create a new Promise where the resolve
    // function is the callback passed to gapi.load
    const pload = new Promise((resolve) => {
      gapi.load('auth2', resolve);
    });

    // When the first promise resolves, it means we have gapi
    // loaded and that we can call gapi.init
    return pload.then(async () => {
      await gapi.auth2
        .init({ client_id: 'YOUR_GOOGLE_KEY' })
        .then(auth => {
          this.gapiSetup = true;
          this.authInstance = auth;
        });
    });
  }
The second one is the actual authentication method we previously set as the click handler. We
await for the prompt result and catch the result with the data or the error.
  async authenticate(): Promise<gapi.auth2.GoogleUser> {
    // Initialize gapi if not done yet
    if (!this.gapiSetup) {
      await this.initGoogleAuth();
    }

    // Resolve or reject signin Promise
    return new Promise(async () => {
      await this.authInstance.signIn().then(
        user => this.user = user,
        error => this.error = error);
    });
  }
This would work already, but if you want to keep your user logged in when they come back, you can check
if
there's one currently stored on your ngOnInit and use it:
  async checkIfUserAuthenticated(): Promise<boolean> {
    // Initialize gapi if not done yet
    if (!this.gapiSetup) {
      await this.initGoogleAuth();
    }

    return this.authInstance.isSignedIn.get();
  }
  async ngOnInit() {
    if (await this.checkIfUserAuthenticated()) {
      this.user = this.authInstance.currentUser.get();
    }
}After that, the local variable user is filled with the user data, including a unique ID, and can be sent to your server to be stored.
Now that you have a way to identify each one of your users uniquely and unequivocally, the logical step forward is to send this info to your backend. Usually, you'd want to store the unique ID in your database system of choice.
It's not a secret that sending this ID plainly to your backend would raise a huge security issue: you have to consider everything that comes from your client insecure by default.
When the user logs in to your site through Google OAuth, the api gives you not only the personal data for the user but a token as well. Simply speaking, this token is generated and signed at Google's side and it states for whom user is valid and to which app, until when is valid amongst some other data. This token is what you will send to your server, and its validation is the way to make sure your application does not get compromised. Google provides the steps needed to validate one of its tokens.
Furthermore, they have already built-in libraries to do the dirty work in some languages. For example, for .NET a GoogleJsonWebSignature.ValidateAsync method is provided. If you inspect the code, you will see how every step is implemented.
I hope you found this little covering interesting. You can check the working example in my GitHub.
